How I Got My 10-Year US VISA In Just 2 Days
LAST UPDATE: December 2017
THIS BLOG IS A STEP-BY-STEP GUIDE to how I received my 10-year US VISA in just 2 days! I’m a Filipino so I went through Embassy of the US, Manila, Philippines using their Interview Waiver Dropbox Program.

My husband and I received our 10-year US VISA using the Interview Waiver Dropbox program (IWDBP). It was fast, easy and convenient – since we live in Cebu City, there was no need for us to fly to Manila for the US Embassy interview or get bulky paperwork (Employment Certificate, Bank Statements, etc. ). In this blog, I’ll give you a rundown of all the things I did, but I still recommend that you check out the official directions from the USTRAVELDOCS website.
What’s the Interview Waiver Drop Box Program?
According to Travel Weekly, the Interview Waiver Dropbox Program (IWDBP) was “made permanent in 2014 to save applicants time and money, allow them to travel to the United States more frequently, and free up consular resources to focus more on first-time applicants.”
How did we qualify for the Interview Waiver Drop Box Program (IWDBP)?
My husband and I are both Filipino citizens and residents of Cebu City. Since I was 14 years old, I’ve been travelling to the US every year. In 2009 to 2014, I had a student (F1) visa as I went to college in San Francisco, California. I still fly to the US often to see my family based in San Diego. As one blogger who talked about the IWDBP, I go the States like it’s my “Quiapo.”
My husband Jovi is also a frequent traveller to the US. Fun fact: We both got our 10-year US VISAs almost at the same time 10 years ago. Now I’m married to him and applying for the same thing at the same time. If you don’t travel to the US like it’s your ‘Quiapo,’ the next important paragraph is for you.
STEP 1: Make sure you qualify for the Interview Waiver Drop Box Program (IWDBP)
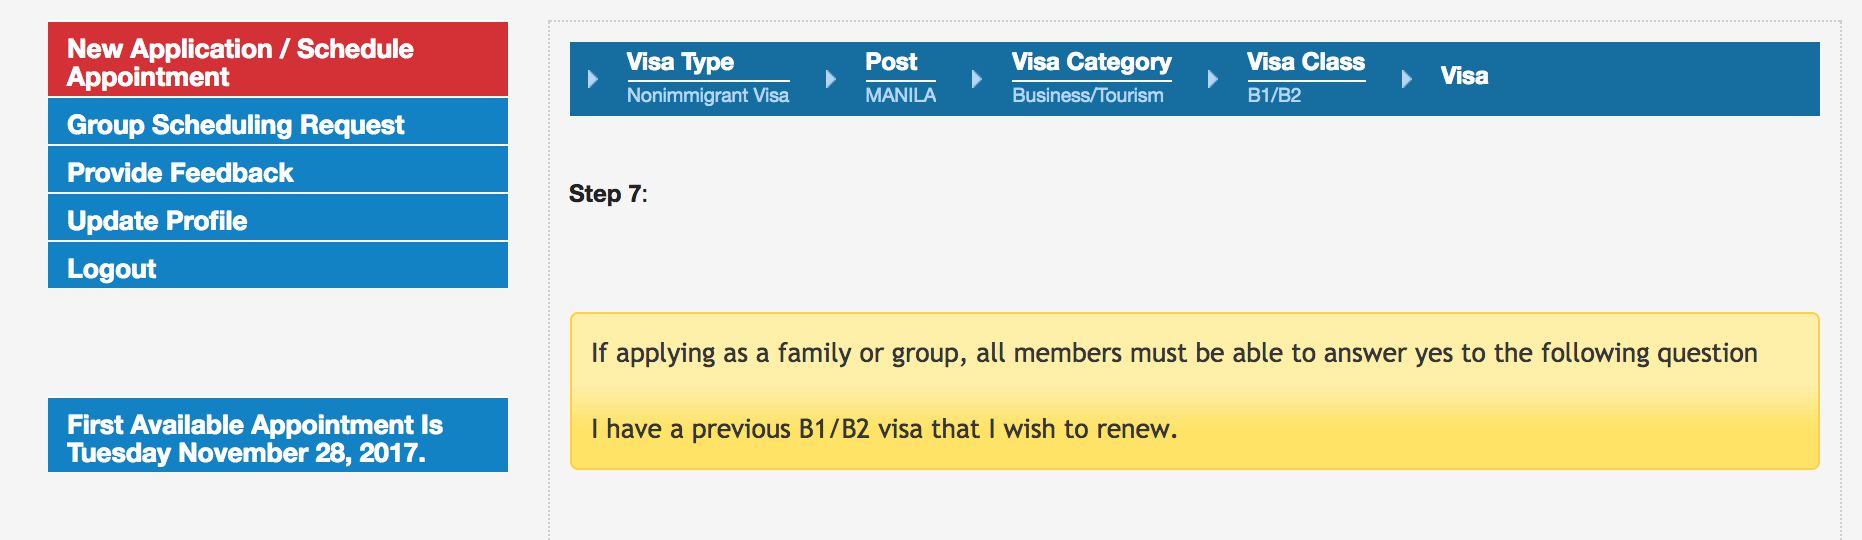
USTRAVELDOCS lists down Eligibility Criteria for Drop Box Applicants. As of November 2017, the questions are:
- I have a previous B1/B2 visa that I wish to renew.
- My visa was issued after July 1, 2007.
- My prior visa was valid for at least five years.
- My prior B1/B2 visa is still valid or expired within the last 12 months
- I am a citizen of the Philippines.
- My prior visa does not say “Clearance Received” or “Travel with Employer”.
- I have my passport with my B1/B2 visa in my possession.
- My most recent visa was issued on or after my 14th birthday.
- The last time I applied for a B1/B2 visa it was approved.IMPORTANT: Check out this USTRAVELDOCS link to that lists down the official steps of getting a US VISA
STEP 2: Get organised
There are going to be lots of documents, links, and passwords that you have to keep track of. Mighty pen and paper are always good, but I since I use the productivity app Asana, that’s what I recommend. It’s also good to have a digital backup of all your files while doing this. Here’s a screenshot of my Asana:
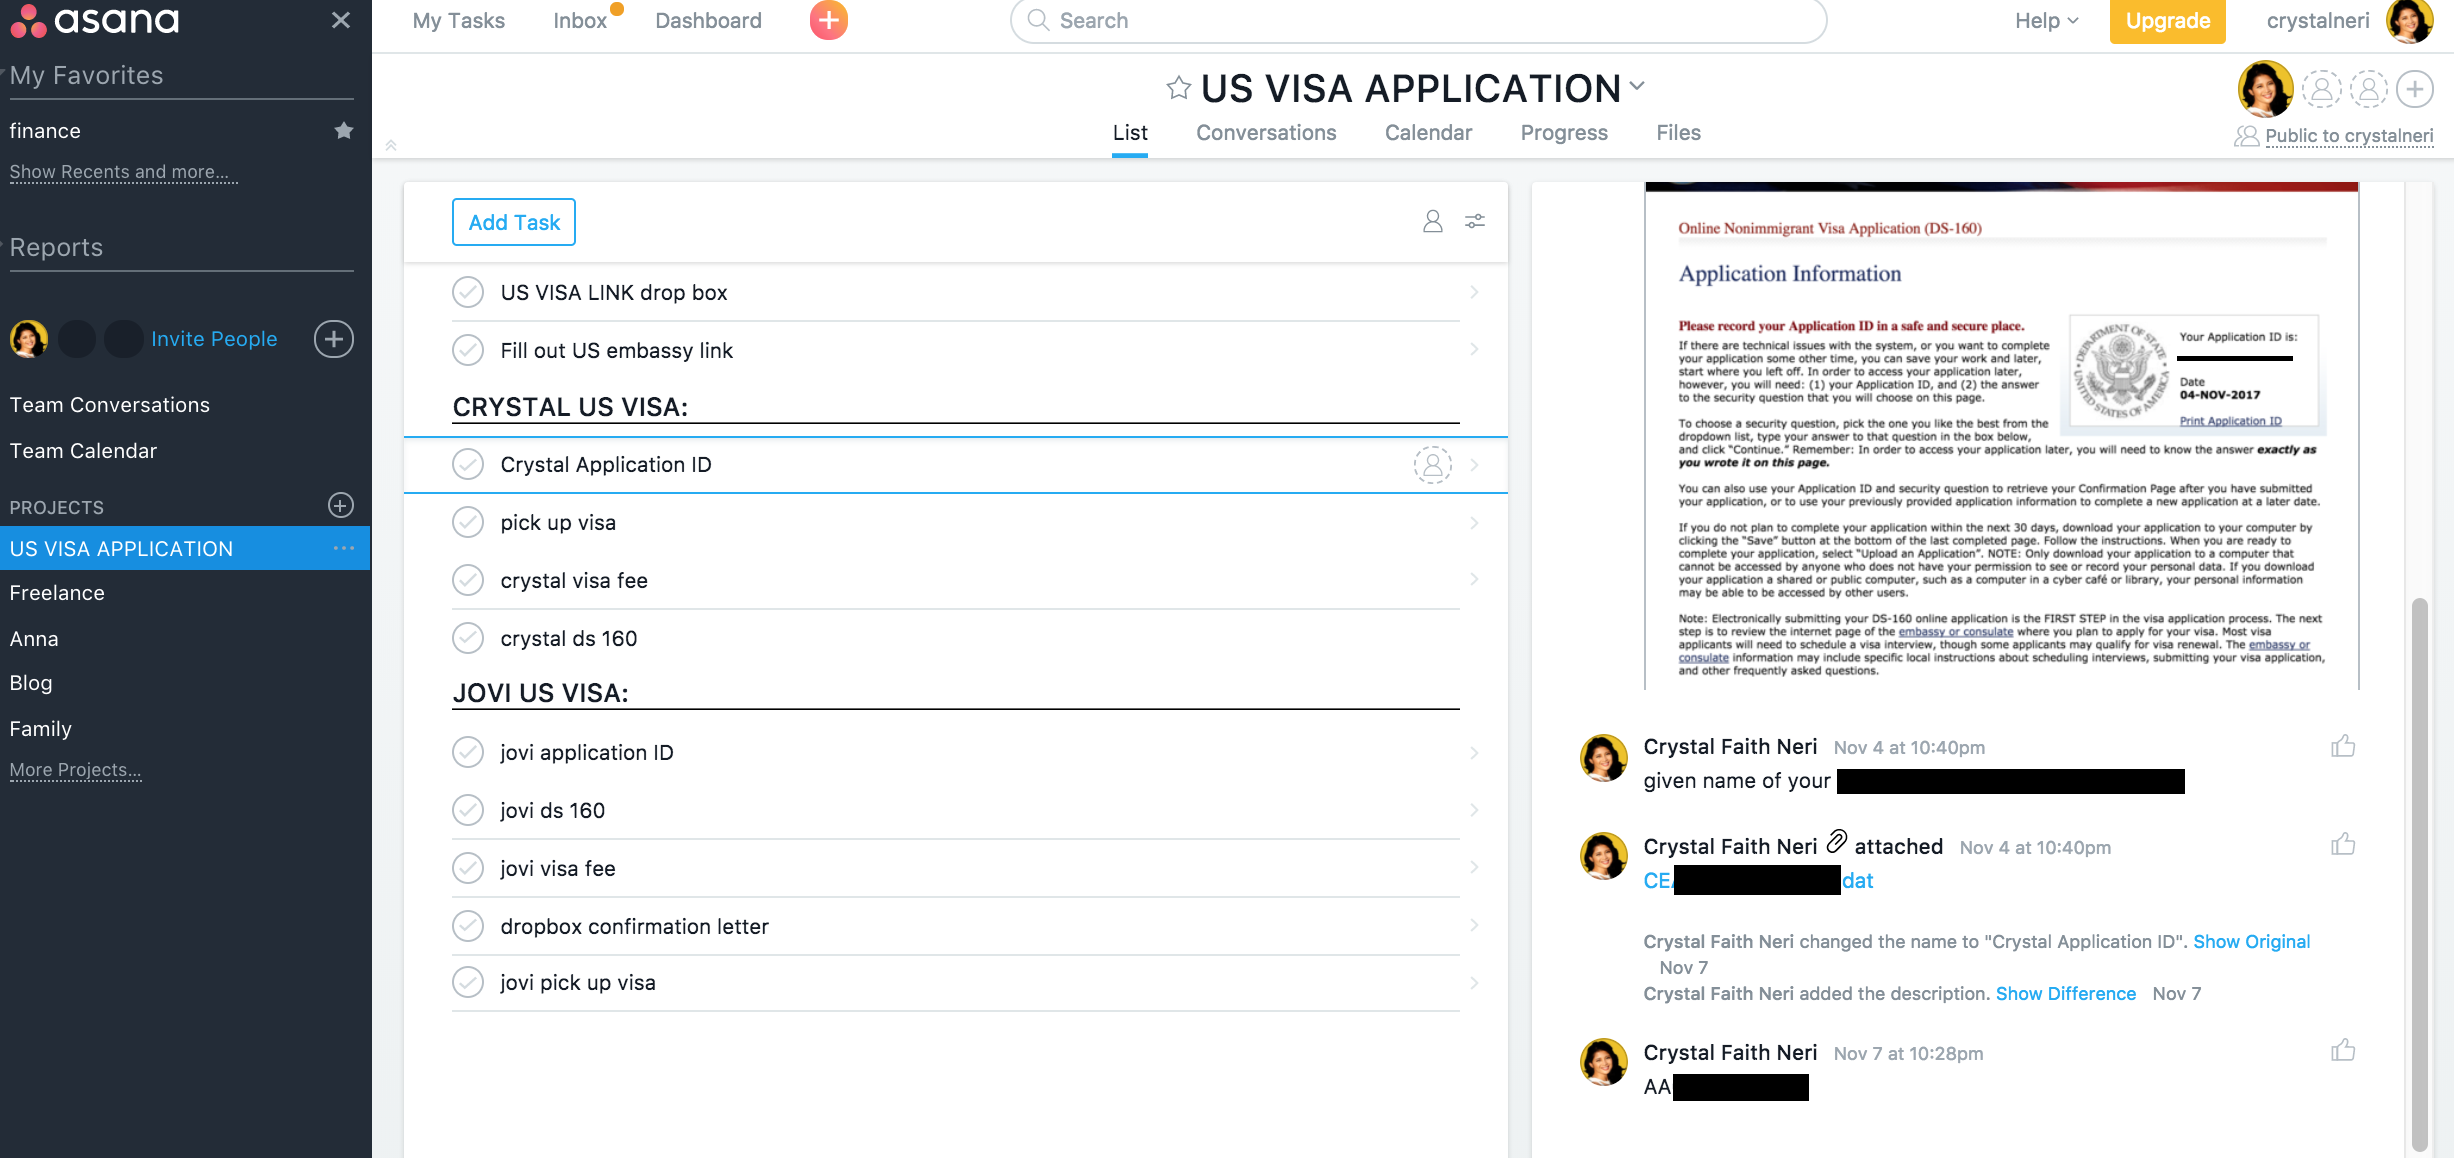
Note that I blocked sensitive information, kept track of my DS-160, added links to the application sites, used a separate tab for the VISA application fee and a separate ‘section’ for my husband’s information
Step 3: Fill out the DS-160 form, including your photo
The US Embassy recommends you pay first before you even apply. I didn’t do that because I know the DS-160 can take up a bit of time to fill up first. The results were still successful but I did have to wait one extra day for the transaction to come through, which we’ll discuss later.
Think of the DS-160 Form as the “root” of your application. It’s a one-page summary of all the answers in your application such as current job, passport information, length of stay, etc. It’s more or less around 20 pages and it took me less than an hour (for each applicant) to finish answering.
5 Last Trips To The US and Duration Of Stay
The hardest part of our DS-160 Form application was the question about our last 5 trips to the US, including date of entry and duration of stay.
How did I do it? I looked at my passport stamps and wrote down the arrival in the US and arrival back in Manila. Then, I used a date calculator (any will do, just google ‘date calculator’) to count the days/months/weeks for the total duration of stay.
After that, the DS-160 Form questions were straightforward. Answer as truthfully as possible, because they can block or red flag you if you fake anything.
Continue or Retrieve An Application
Since filling up the DS-160 Form is a delicate and long procedure, the website allows you to ‘save’ or ‘pause’ answering. I did this several times because I had to get my ID photo right.
ID Photo
This site describes specific guidelines for getting the correct US VISA application ID photo. Please make sure you follow that – you don’t want to mess up your application just because you sent the wrong photo! Just note:
If you keep getting an ‘error’ message when you upload, try taking another photo in better light or cropping it in different ways
How did I do it? I got a professional photo (since they know the requirements for US VISA application) and then took a picture on my phone. Next, I uploaded it my phone’s Google Keep and saved that file on my computer. Some people may choose to scan the photos or get the digital version but this is what I did and it worked just fine.
Step 4: Pay the US VISA FEE and save the original receipt
This is the link to the US VISA fee application page. Note that each time you click on the specific fee/page, a unique set of numbers will pop up. This is your ‘receipt number,’ a very important number to remember when paying and confirming your US VISA application.
How I paid US VISA fee:
- I went to BPI in Ayala Centre Cebu
- In the BPI machine, I looked for ‘US VISA’ payment transaction
- I entered all the information asked
- I went to the teller to pay the amount (as of November 2017, it was $160 USD or PHP 8320)
- I kept the original receipt from the transaction. DO NOT LOSE this paper, it’s one of the five things you’ll submit with your application
There was also a way to pay online using BPI Express, but when I tried it, the page kept giving me error messages. That’s why I resorted to going to a local bank.
STEP 5: Print out the DS-160 Form
After paying the US VISA fee, I waited for 24-hours to give time for the bank transaction to come through. Next, I logged back into the DS-160 Form Application. Once I’ve finished double-checking my answers and photo, I hit ‘Submit.’ The last page showed me my DS-160 Confirmation printout. I saved it as PDF and also took a screenshot as a backup copy. As a final step, I printed out the DS-160 Confirmation page. The top part of it looks like this:

I blocked sensitive info
Step 6: Register an account on CGIFEDERAL
The CGIFEDERAL link allows you to schedule your VISA appointment. In our case as IWDB program, they are going to be a set of questions that will verify and then give us the Dropbox Confirmation Letter.
Question: Did you change your name since your last US VISA?
One confusing part for me here was the question asking if I need to change my name since my last US VISA. Since I got married in 2015, yes I did. But there was a reminder on top of each question: “If applying as a family or group, all members must be able to answer yes to the following question”
Despite that, I still answered “No” because I have my current passport in the new name and I’m willing to supplement documents to confirm my name change.
Traveling With Family Members
I used my husband’s account to login CGIFEDERAL. Since the questionnaire asked for family members travelling together, I entered my name, US VISA payment receipt number, DS-160, and all other info required.
The result is one piece of Dropbox Confirmation Letter with my husband as main “Applicant” and myself as “Dependent”. I know I got this right because I saw two unique UID numbers and bar codes. Even if I logged in to my own CGIFEDERAL account, I can no longer use my US VISA payment receipt because that was already used in my husband’s account, thus generating the UID code.
This might be confusing: Two (2) DS-160s, two (2) CGIFEDERAL accounts, Two (2) US VISA payment receipts – but only one Dropbox Confirmation Letter. That’s okay, I still printed out the Drop Box Confirmation TWICE because each applicant needs to send individual Drop Box Confirmation letters. This is what it looks like: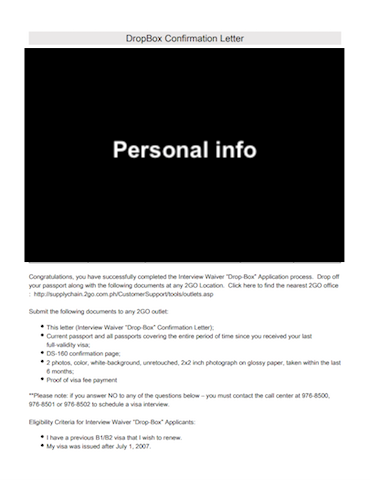
STEP #6: Compile Requirements and Send Via 2GO Courier Service
![]()
IMPORTANT: Each applicant needs an individual application or folder
Photocopy everything
The worst case scenario is that all my documents get lost in the mail, so I made sure to photocopy everything I sent.
Packaging
I was paranoid about waterproofing and making sure all our passports (3 pieces each) were safely intact on the way to Manila, so I forked extra money for nice plastic envelopes with strings. I assume that you can simply use a regular short brown envelope because TO GO wraps the package in a plastic anyway.
Sending via 2GO
I went to Ayala Centre’s 2GO branch to drop off my US VISA application. Remember that this service is FREE, no charge at all. They will need your UID code though, so I prepared and printed an extra one just in case.
STEP 7: Wait and check US VISA application status
I sent our papers on Friday and received confirmation that our VISAs were issued on Tuesday. That’s just 2 business days! However, the TOGO people said that our passports have not yet arrived from Manila, so we waited another 2 days. They advised us to wait for “binasaya text” or the text directly from the messenger before we come back for pickup.
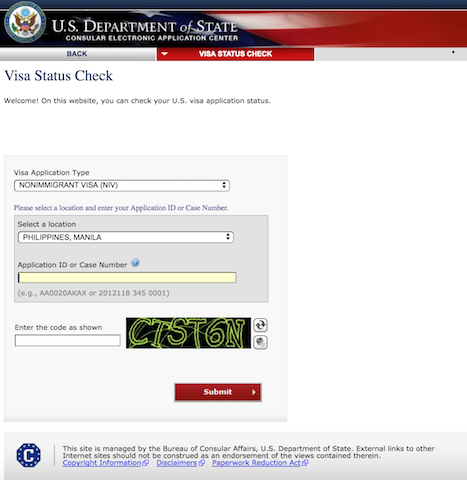
Check US VISA STATUS
I also used this link to check our US VISA APPLICATION STATUS. Here’s a screenshot:
SUMMARY:
1. Make sure you qualify for the Drop Box program by answering the questions from the US Embassy. This is also the link to official instructions from the US Embassy, which I recommend you to follow. (Link)
2. Pay the VISA application fee. (Link)
3. Prepare 2 pieces of suitable passport photos in 2″x2″ size. (Link to photo guidelines)
4. Complete the DS-160 Form. This is your 10-15 page ‘application questionnaire.’ (Link)
5. Register an account at CGI Federal to get your Drop Box confirmation letter. (Link)
6. Deliver your requirements to the nearest To Go Courier Outlet.
7. Check VISA application status. (Link)
8. Wait for the email/text confirmation and the return of your passports.
Finally, that’s it!
Looks like a lot of steps but it was pretty easy. I didn’t see anyone writing any detailed instructions about the IWDBP program, so I hope what I wrote is a clear guide for you. As a final reminder, these were the steps I took but your best bet is to consult the official US Embassy guide here.
About the Author
 Crystal Neri is a freelance writer who has worked across media platforms in places as diverse as US, Singapore, and Australia. She lives in Cebu City where she covers travel and entrepreneurship at crystalneri.com. Say Hi to her (@nericrystal) on Twitter and Instagram. Subscribe to her newsletter: